Archives

Mom’s Zucchini Bread 2.0

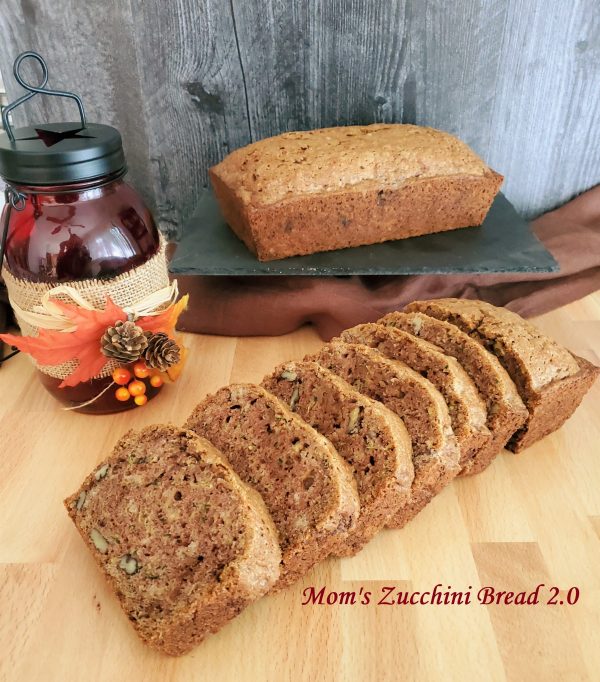
I have the best zucchini bread for you today, ready to use up the last of the fresh zucchini coming in from your gardens and farmer’s markets. I started with a tried and true family favorite, but made some slight adjustments. I think it’s the best zucchini bread out there! It’s still moist and cakey without being dense, and has the best cinnamon flavor without being too sweet. It’s perfect for breakfast, snack time, or even dessert!
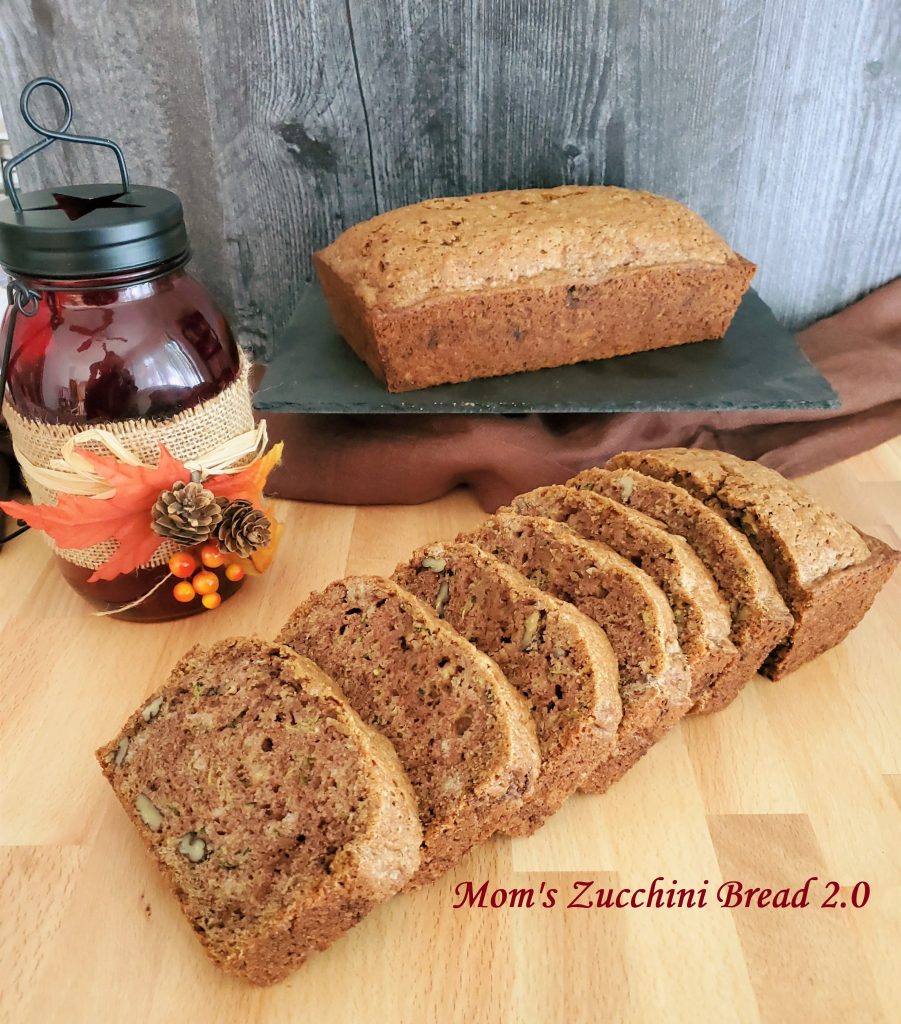
Mom's Zucchini Bread 2.0 - The Archaeologist Bakes

As I mentioned, I started with my mom’s recipe that we’ve been using for years. And based on a quick internet search, it seems like a lot of moms and grandmas out there are using the same recipe. And it really was good to begin with, but I wanted to make a few changes.

The first problem I encountered with the original recipe was that it was created for 8×4-inch loaf pans. All of my loaf pans are 9×5-inch, and I bet a lot of you have the same size. This meant the loaves (each batch makes two) were pretty flat and sad-looking. But it was too much batter for just one 9×5-inch loaf. So I upped the quantities and now you get two perfectly sized loaves. If you are using 8×4-inch pans, you’ll just get three loaves instead.
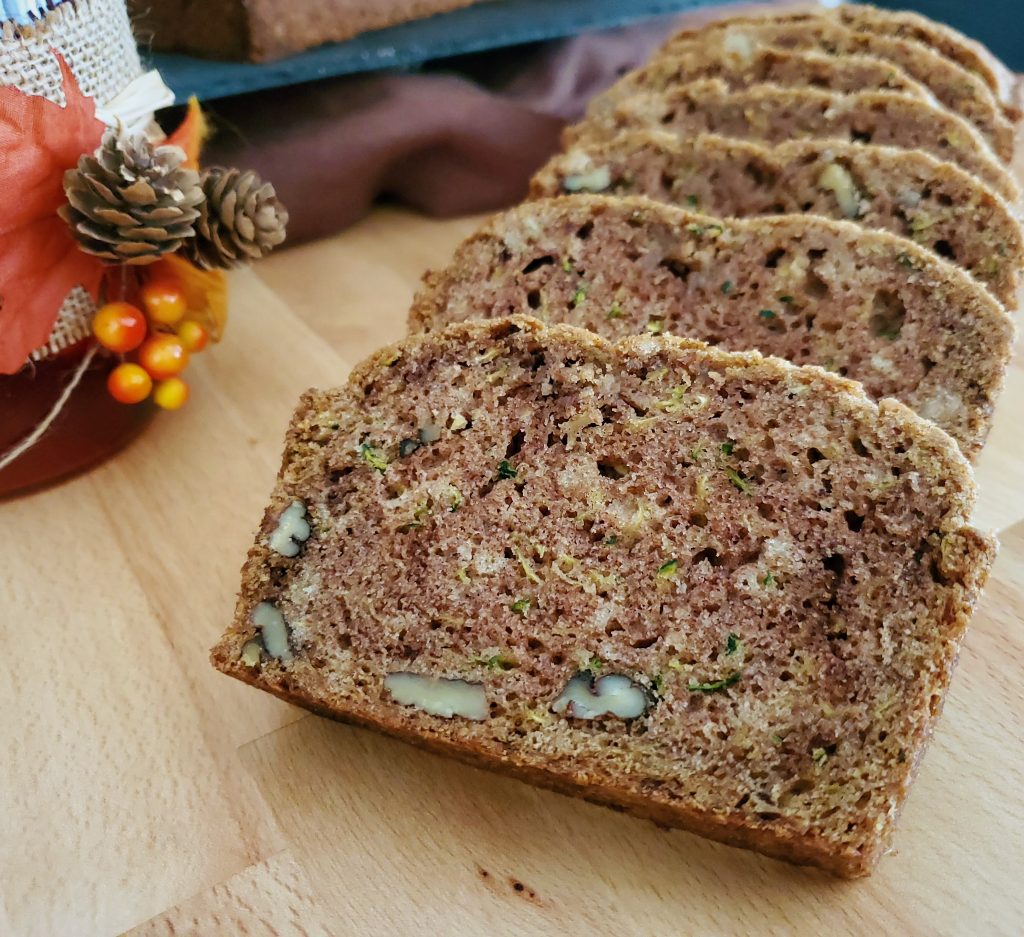
Mom's Zucchini Bread 2.0 - The Archaeologist Bakes

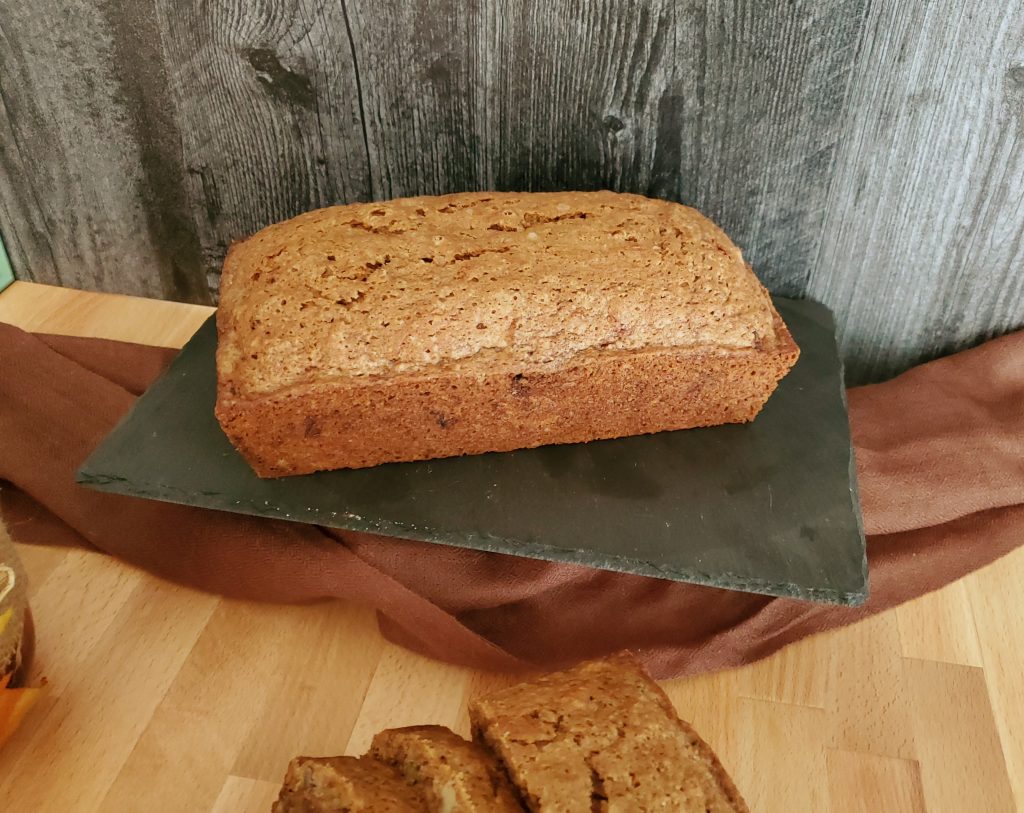
The next problem was that while I love a nice, moist, cakey quick bread, most of the zucchini breads I have tried tend to be a little dense and almost wet. I took a page out of some other recipes I had seen, and decided to squeeze out some of the moisture from the zucchini before adding it to the batter. It doesn’t have to be squeezed completely dry, but removing about 1/4 to 1/3 cup of liquid from it helps a lot with the texture of the finished bread.

Because I was removing some of the bitter liquid, and because I sometimes find zucchini bread to be on the sweet side, I also reduced the sugar a bit. It’s still sweet, but it has a nice balance with the other flavors. And while I just use cinnamon, you could easily substitute the spices of your choice. Use apple pie or pumpkin pie spice, or make a blend of your favorite spices (I’m thinking cinnamon, cloves, and cardamom next time).
Mom's Zucchini Bread 2.0 - The Archaeologist Bakes

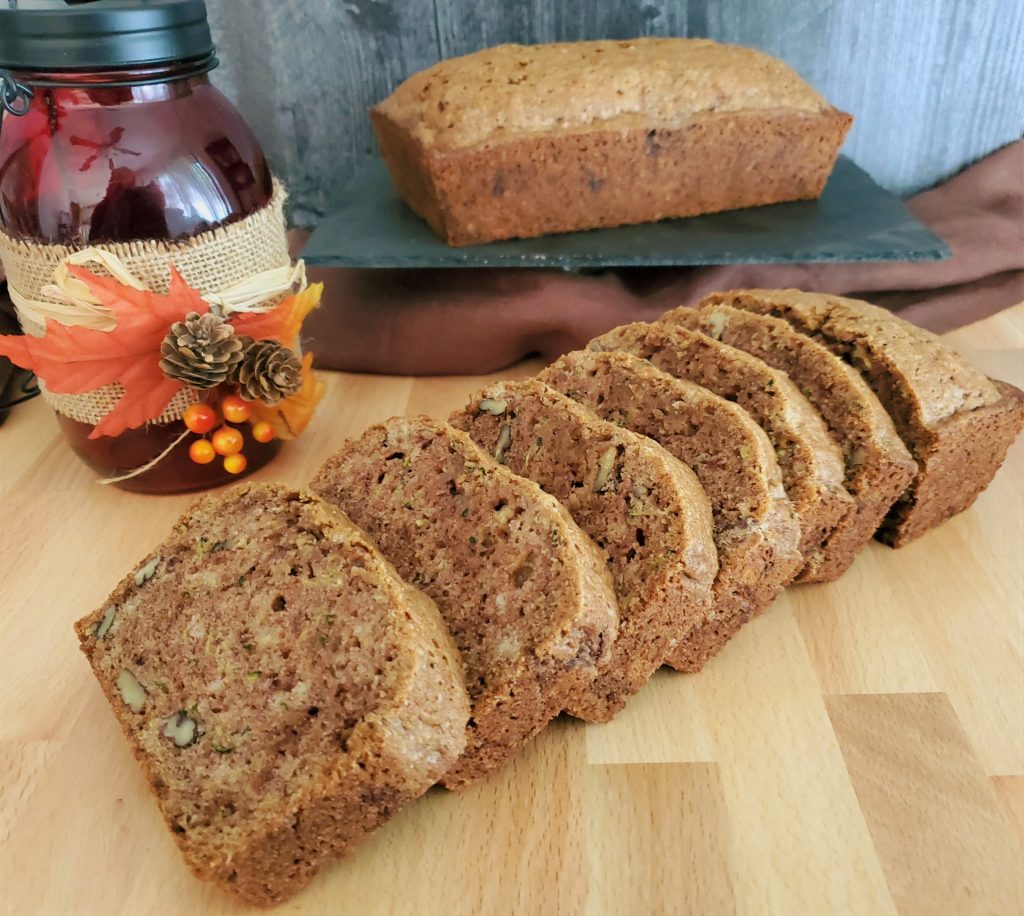
I add nuts to my zucchini bread, pecans and walnuts to be specific, but as with almost every recipe, those are optional. Use whatever nut or seed you like – pumpkin or sunflower seeds would be great! Just avoid any that are salted for this recipe. Or, make it even more decadent and add chocolate chips, whatever flavor you prefer! You can even leave the add-ins out entirely.

Whatever mix-ins or spices you choose, I hope you give this recipe a try. It is seriously the best zucchini bread I’ve ever eaten, and I think you’ll love it too!
Mom's Zucchini Bread 2.0 - The Archaeologist Bakes
Print Recipe
Mom's Zucchini Bread 2.0
Servings
loaves
Ingredients
Servings
loaves
Ingredients
Instructions
  1. Place grated zucchini in a clean tea towel and squeeze out excess moisture. It doesn't have to be completely dry, but give it a good squeeze to eliminate the excess liquid. You should remove 1/4 to 1/3 cup. Set zucchini aside.
  2. Combine eggs, oil, sugar, and vanilla in a large mixing bowl. Whisk together until well combined.
  3. Add zucchini and stir until incorporated.
  4. Add all dry ingredients except nuts and stir just until there are no streaks of flour remaining.
  5. Stir in nuts.
  6. Pour into two greased 9x5-inch loaf pans. Bake at 325 degrees F for 60 to 70 minutes or until a toothpick inserted near the center has a few moist crumbs attached.
  7. Cool in pans for 10 minutes before removing to wire rack to cool completely.
  8. Store in an airtight container at room temperature for up to 5 days, or freeze, well-wrapped, for up to 3 months.
Recipe Notes
  • Use three pans if you have 8x4-inch loaf pans. It's ok to bake two and keep the remining batter refrigerated until you can wash and re-use one of the pans.
  • As always, nuts are optional. Use any unsalted variety you like, or substitute with seeds or chocolate chips. 
  • Instead of cinnamon use apple pie or pumpkin pie spice. Or create your own spice blend. Just use the same total amount -  1 1/2 tablespoons.
Share this Recipe

Ginger-Lime Thumbprint Cookies

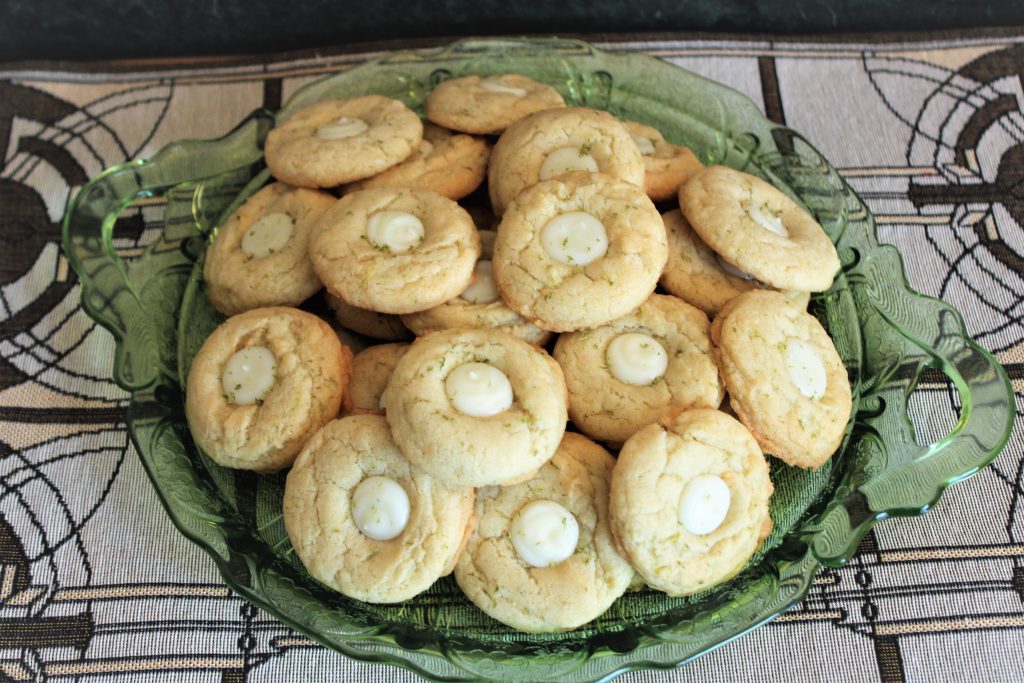
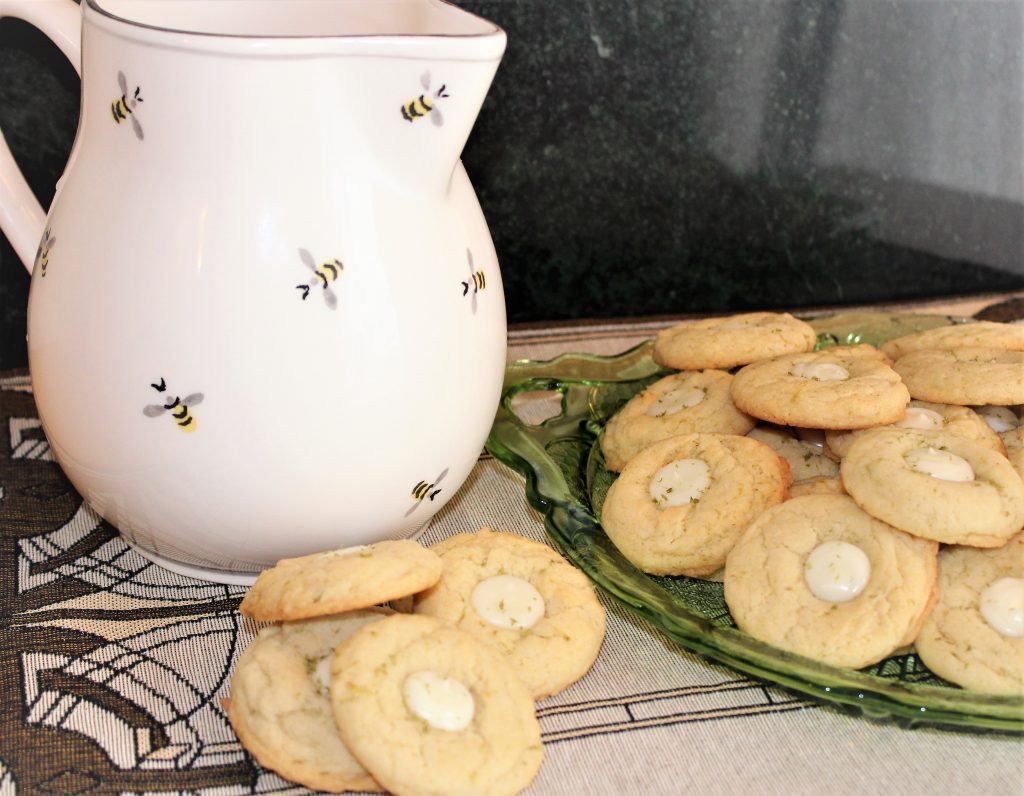
The first time I made a cookie similar to this was while I was on a project and living in a hotel room. I was baking for the crew almost every weekend, but since I was in a hotel and cooking in a toaster oven with only a few tools, I tried to use shortcuts where I could. I was looking for ways to easily dress up a cookie mix when I stumbled upon a recipe for ginger-lime sugar cookies and decided that could work. I just mixed up the mix and added lime zest and fresh ginger. I stirred in some white chocolate chips and baked them up. Everyone went crazy for them!

I fell in love with the ginger-lime combination at that point, and I have made similar cookies many times since. I wanted to dress them up a little for you, though, so I turned them into thumbprint cookies!  These are soft, chewy cookies that actually stay soft and chewy for up to a week. For the filling, I use vanilla almond bark because I prefer it over actual white chocolate. You can use whichever you prefer or have on hand. These have a tropical vibe to them, so I think a sprinkle of toasted coconut or toasted macadamia nuts would be perfect. You could either sprinkle some on top of the ganache before it sets, or go all out and roll the cookie dough in them before baking!


Print Recipe


Ginger-Lime Thumbprint Cookies

Servings
dozen


Ingredients

Servings
dozen


Ingredients


Instructions
  1. Melt butter.

  2. While still warm, add cubed cream cheese, sugar, and oil. Whisk until combined and cream cheese is mostly melted.

  3. Add lime, ginger, and egg and mix well.

  4. Stir in flour, baking soda, baking powder, and salt until a smooth dough is formed.

  5. Refrigerate dough for at least 30 minutes or up to several hours.

  6. Scoop dough, using a 1 1/2 tablespoon scoop, onto a parchment or silicone lined cookie sheet.

  7. Bake at 350 degrees F for 8 to 10 minutes, or until lightly golden brown around the edges.

  8. As soon as the cookies come out of the oven, press an indentation in the middle with a small (1/2 teaspoon) measuring spoon.

  9. Cool 5 minutes, then move to a cooling rack to cool completely.

  10. Once cookies are baked, make the ganache by combining almond bark with heavy cream in a microwave safe bowl.

  11. Microwave 30 seconds at a time, stirring after each. Continue until chocolate is completely melted and mixture is smooth.

  12. Spoon, or pipe with a piping or plastic bag, the ganache into the indents in the cookies. Let set until firm, about 1 hour.

  13. Sprinkle with additional lime zest if desired.


Recipe Notes
  • Sprinkle with toasted coconut or toasted, chopped macadamia nuts before the ganache sets.
  • Roll the cookie dough in coconut or chopped macadamia nuts before baking.


Share this Recipe

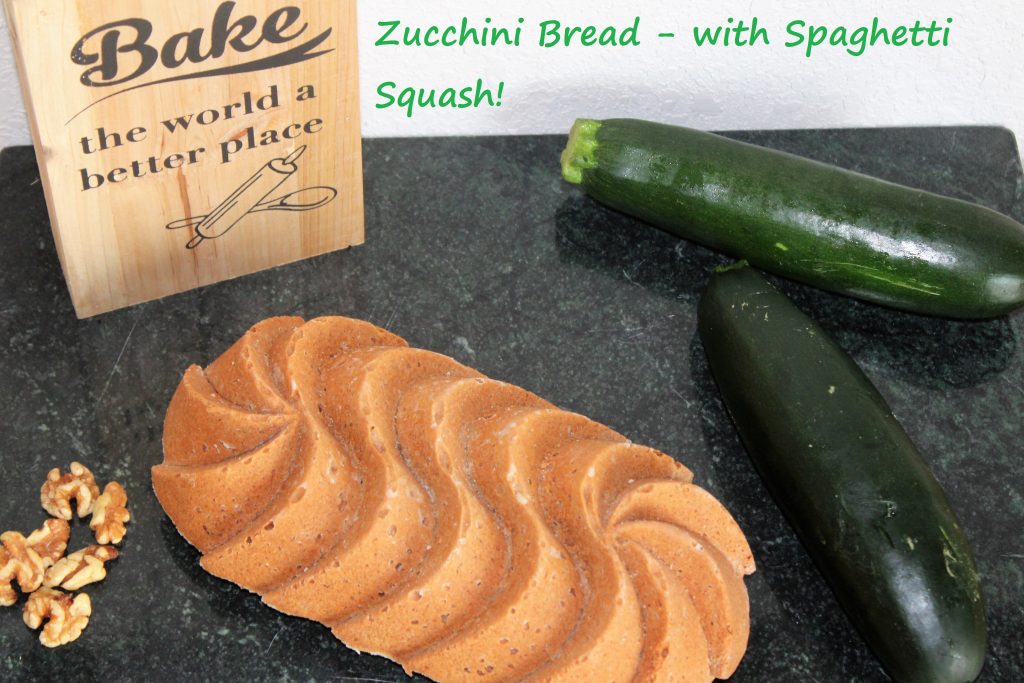
Zucchini Bread – Made with Spaghetti Squash!

Hi Everyone! I know I’ve been pretty absent here this summer, but I promise I am getting back to baking and will be bringing you lots of new recipes soon! I am so ready for fall – fall weather, fall flavors, fall color. It’s my favorite time of year. 🙂

But for those of you still clinging on to summer, and the bounty of your vegetable garden, I have one more summer recipe for you. Actually, with the cinnamon, it tastes like the start of fall, but it’s a great way to use up your squash.

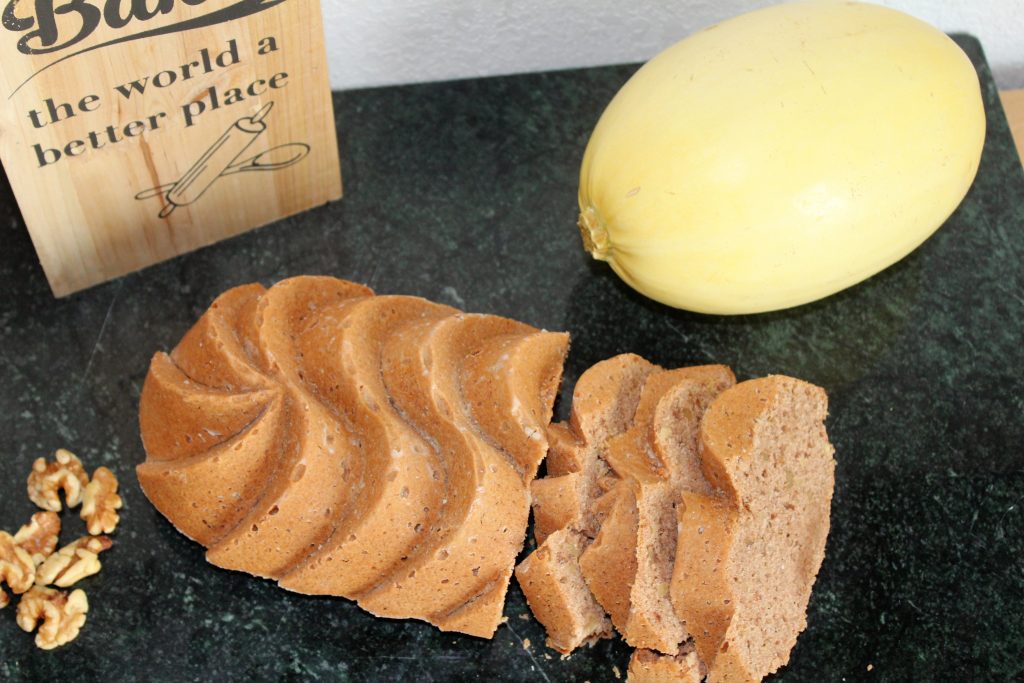
This was originally my mom’s zucchini bread recipe, and people LOVE this bread. It’s got a nice strong cinnamon flavor and is super moist because of the zucchini. I was gifted a spaghetti  squash from a co-worker, and of course I was immediately challenged to bake something with it. I wondered if I could use it in place of zucchini in baked goods. So I did a little research, crossed my fingers, and went for it. 

This is the second recipe I’ve tried using that substitution, and I can’t tell the difference between the original and the spaghetti squash version. Yes – it works! The only difference is that you have to cook, and shred, the spaghetti squash first, whereas the zucchini is shredded and added to the batter raw. Also, you need to measure the squash by weight, since it is much more dense than shredded zucchini. 

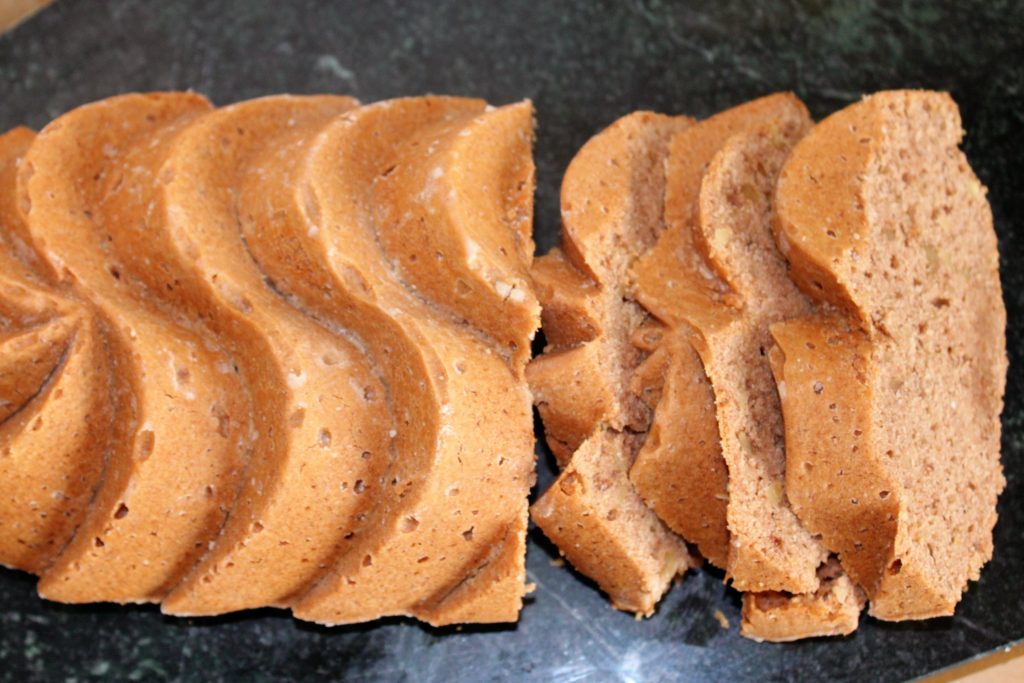
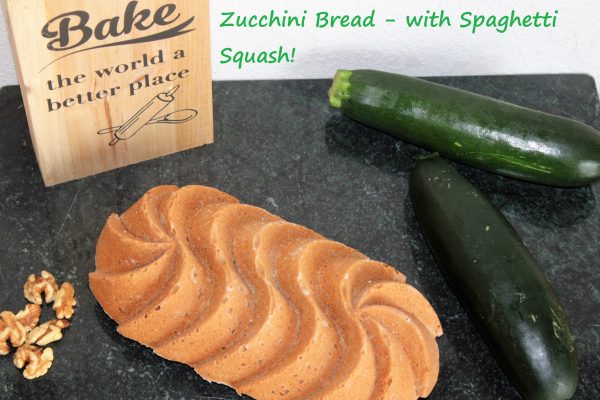
Yes, you can absolutely use zucchini as originally intended. And while I used walnuts in mine, as always, the nuts are optional or changeable. Pecans are always delicious in sweet breads. Hazelnuts or macadamia nuts would be really interesting too.  This recipe uses only cinnamon, but you could change that up too. Add in a little bit of nutmeg or cloves for more of a fall flavor. And you can absolutely bake this in standard 8″x4″ loaf pans. I couldn’t resist trying out this beautiful new swirl pan I just got. And I have to say that I am loving it.

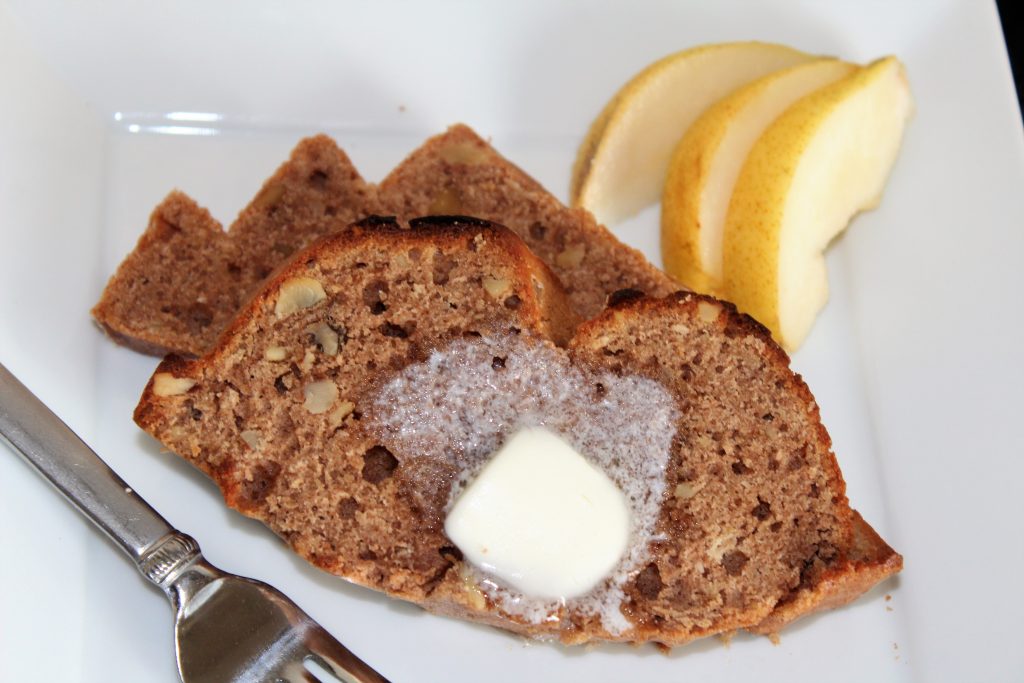
Serve this warm or at room temperature. Or toast it and spread on a little butter. Or cream cheese. Or, if you want to go all out, drizzle on some cream cheese icing for a decadent treat. I think I need to go make another batch of this and do just that….


Print Recipe
Zucchini Bread - with Spaghetti Squash!
Course Breakfast, Dessert
Servings
Loaves
Ingredients
Course Breakfast, Dessert
Servings
Loaves
Ingredients
Instructions
  1. Whisk eggs and sugar together until thick and very light yellow in color.
  2. Whisk in oil and vanilla until combined.
  3. Stir in shredded zucchini or squash.
  4. Combine dry ingredients and stir into batter along with nuts, if using, just until combined.
  5. Pour into two 8"x4" greased loaf pans.
  6. Bake at 325 degrees F for 60-70 minutes. (See notes).
  7. Cool 10 minutes before turning out onto a cooling rack to finish cooling. Serve warm or room temperature.
  8. Store in an airtight container for 2-3 days at room temperature or a week refrigerated.
Recipe Notes
  • Zucchini should be grated raw, with or without the peel.
  • Spaghetti squash should be cooked (steamed or baked) and shredded before adding to batter.
  • If you are using larger loaf pans (like the pan I used, or a 9"x5" pan) the bread will cook faster. Start checking after 35 minutes.
Share this Recipe

Cherry Chocolate Chip Sweet Rolls

Hi everyone! I have something really exciting to share with you today! Oh – and I made you Cherry Chocolate Chip Sweet Rolls. 🙂

So I’ve been back down in Oklahoma, but this time I’ve been in Ponca City, which just happens to be the next town over from Pawhuska. Now, if you read many food blogs, or watch Food Network, you may recognize that name. That’s because it’s where Pioneer Woman lives, and where her Mercantile is located. Well, I was fortunate enough to get to go visit the Mercantile and eat dinner there! The store is really amazing, and the food was fantastic. I bought a cookbook and a few bowls, and then spent too much money at the bakery. 🙂 And dinner was worth the wait (the line was out the door when we first got there!). I had the grilled cheese, and others I went with tried the ribeye reuben, the chicken fried steak, and the fried chicken sandwich. They are all highly recommended by us!

That was exciting enough, but what made the day even better was that the lodge, the guesthouse on their ranch where Ree films her Food Network show, was open for tours that day, and I managed to get there just before they closed! It was really cool to visit both her “studio” and the Mercantile. The Pioneer Woman is one of the most successful and well-known food blogs, so for a new blogger it was a real treat. I definitely recommend stopping at the Mercantile if you ever find yourself anywhere near Pawhuska!

Anyway, let’s get back to these sweet rolls. They are somewhat inspired by Pioneer Woman, since I tried her cinnamon rolls at the bakery (too die for!!), and in the cookbook I bought she has a recipe for Raspberry Cream Cheese Sweet Rolls.  I was really craving some kind of sweet roll, and with Valentine’s day coming up, chocolate and cherry seemed to be an appropriate combination. 🙂

These start with a cherry curd, which is really simple to make. You just need frozen cherries, sugar, butter, egg yolks, and corn starch. The recipe makes about 2 cups, and you only need 1/2 cup for this recipe, so there is plenty left over. Spread it on toast, biscuits, pancakes, ice cream, pork chops….well, pretty much anything! You can also substitute any frozen berries in this recipe, and it would be just as delicious.

The filling is just the curd and chocolate chips, but there is so much room for adjustments! Prefer lemon curd? Go for it. Or want them even faster? Use a store-bought jam. Leave out the chocolate chips, or change up the flavor (white chocolate with the lemon curd would be perfect). Add nuts with the chips or in place of them. The possibilities are endless!

This recipe is scaled to make 6 rolls, but can easily be doubled to make a dozen in a 9×13-inch pan.

Oh, and did I mention these come together in about an hour, if you already have the curd made? That’s right – you are only an hour away from warm, chocolatey, sweet-tart cherry sweet rolls!


Print Recipe
Cherry Chocolate Chip Sweet Rolls
Course Breakfast
Prep Time 40 minutes
Cook Time 20 minutes
Servings
rolls
Ingredients
Course Breakfast
Prep Time 40 minutes
Cook Time 20 minutes
Servings
rolls
Ingredients
Instructions
  1. Combine 1 cup flour and the yeast in a large bowl, or the bowl of a stand mixer.
  2. Combine milk, water, sugar, oil, and salt in a microwave safe bowl. Microwave for 30 seconds at a time, stirring after each, until mixture is slightly warm, about 1 minute.
  3. Add the milk mixture to the flour and yeast along with the egg yolk. Beat with an electric mixer, or by hand, for 30 seconds or until combined. Scrape bowl, and beat at medium speed for 3 minutes.
  4. Either by hand or with a dough hook, add in the second cup of flour and mix until a soft dough forms. Knead, by hand or with the dough hook, for 3 to 5 minutes, adding up to an additional 1/4 cup of flour, until dough is smooth and elastic. It will be a very soft dough, and should be very slightly sticky. Cover and let rest for 10 minutes.
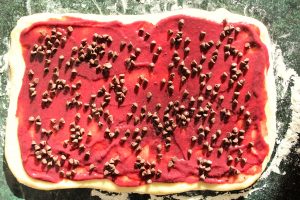
  5. Turn dough out onto a lightly floured surface and roll into a 7x12-inch rectangle. Spread cherry curd over dough, then sprinkle with chocolate chips. Beginning from the short (7-inch) side, roll up jelly-roll style. (If doubling, roll a 14x12-inch rectangle and roll from the long side.)
  6. Slice into 6 rolls and place, cut side up, into a greased 8-inch square pan. Cover and let rise until nearly doubled, about 20 minutes.
  7. Bake in a 375-degree F oven for 15 to 20 minutes or until golden brown. Cool slightly before topping with the powdered sugar glaze and serving. Store, covered, at room temperature for 2 to 3 days.
Recipe Notes

Cherry curd recipe here.

Powdered sugar glaze recipe here.

Recipe can be doubled to make 12 rolls in a 9x13-inch pan.

Substitute any curd or jam.

Substitute any flavor chocolate chips.

Add 1/4 cup chopped nuts instead of or in addition to the chocolate chips.

Flavor the powdered sugar glaze with extracts.


Share this Recipe